
If you’re reading this, then you’re likely beginning from ground zero, as I did. I wasn’t merely learning; I was debugging, redesigning, and correcting SEO mistakes on the spot.
This is not a “how-to” on doing things. This is the exact way I started my blog — MarknestHub — and turned it into a website offering SEO services, guest blogging, etc. From choosing domains to plugin configurations, from Elementor nightmares to AdSense disapproval — I’ve had it all.
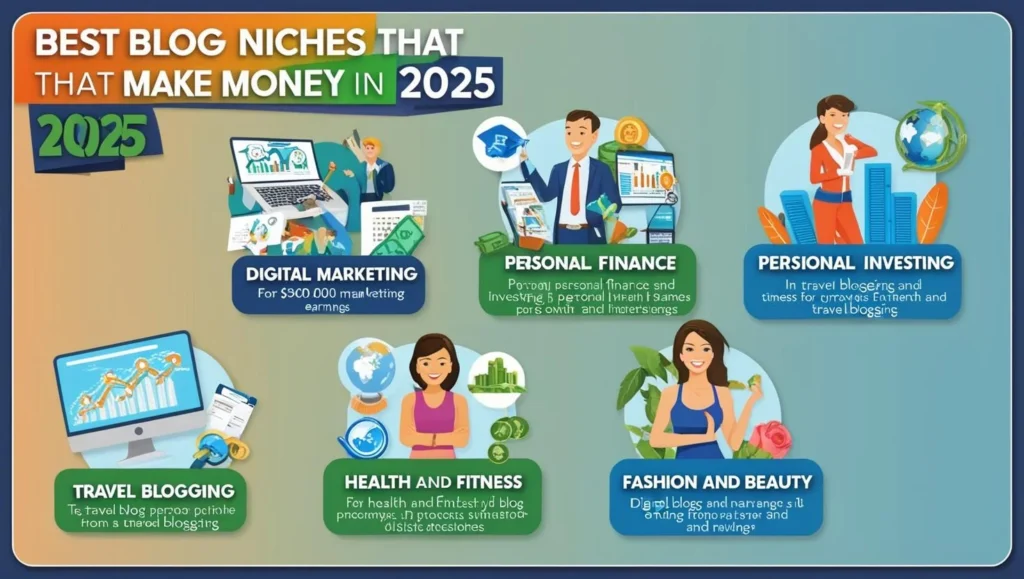
Let’s go through the actual roadmap, not theory, to create a profitable blog in 2025.
Step 1: Choose a Niche That You Can Stand Behind — Not Just One That Pays
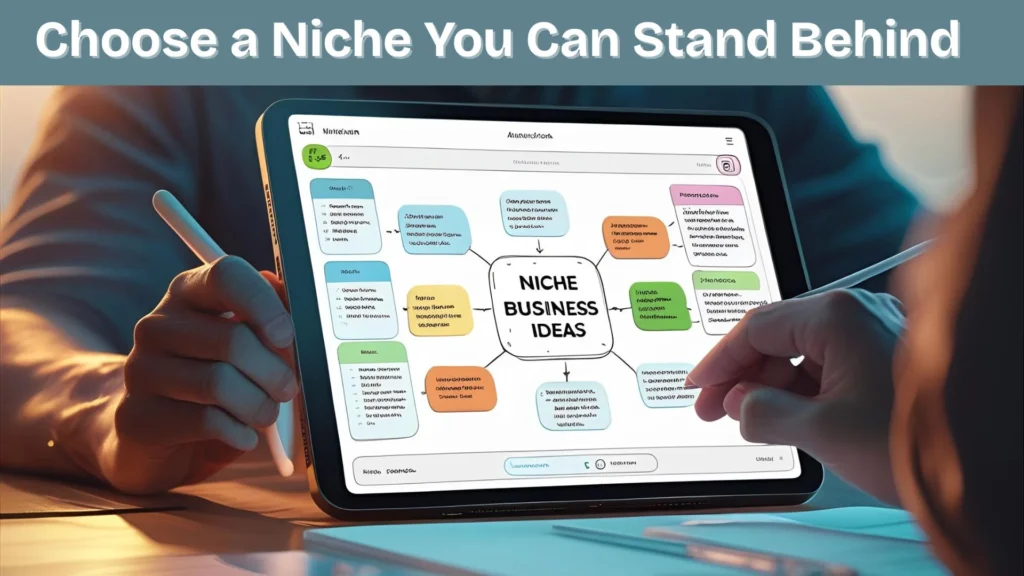
When I initially posed the question, “What should I blog about?”, I liked a lot of things. But I knew this:
- I needed one with long-term prospects.
- It must be SEO and marketing-focused.
- I should enjoy writing about it daily.
After countless chats and trial ideas, I settled on this idea:
“Hub for SEO focused marketing blog with guest blogging as the core service“
That‘s where MarknestHub came into play. It‘s all about integrating marketing ideas — SEO, blogging, automation, tools, and monetization strategies.
Step 2: Domain Name, Hosting & The Mistake I Almost Made
I wish that I had the name MarketHub.com, but it was already taken. I even asked ChatGPT for suggestions. One that stuck was:
IdeaFusion
InnoMark
But finally… MarknestHub.com felt perfect, available, and brandable!
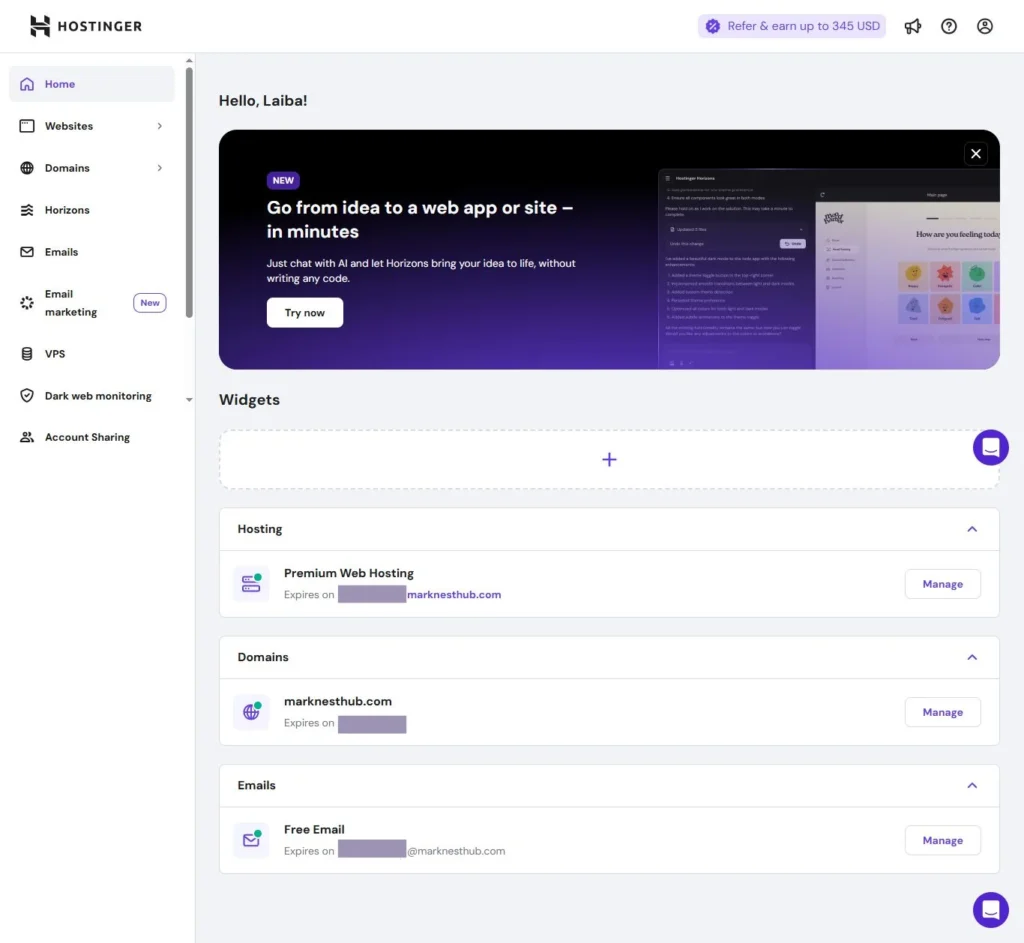
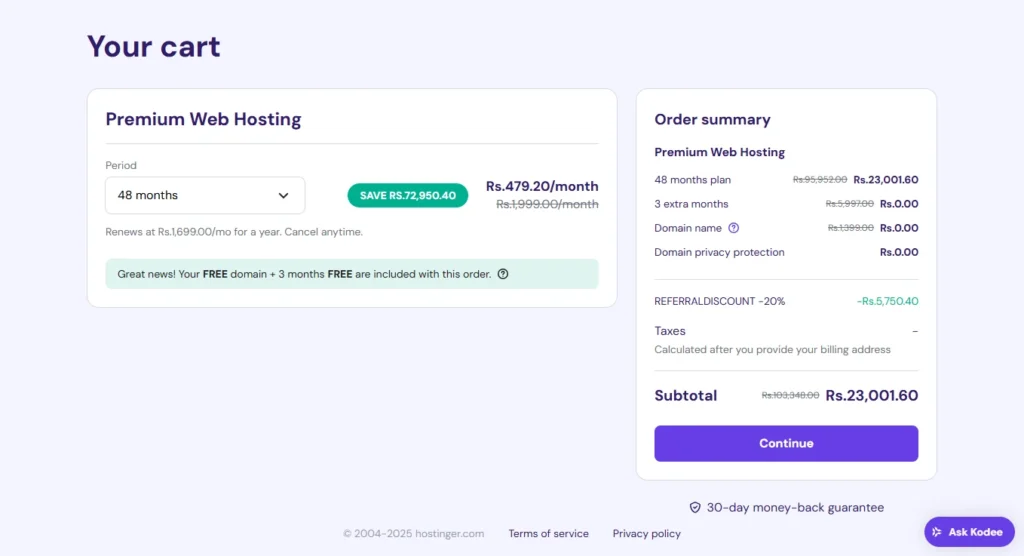
Hosting I Chose (and Why):
I opted for Hostinger’s 1-year plan, including a free domain. It was beginner-friendly, fast, and affordable. If you’re planning to start your own blog, I highly recommend checking Hostinger’s current offers.
✅ Bonus for You:
If you want to get a discount on hosting, you can use my exclusive promo code at checkout. It’s just my small way of paying it forward to fellow bloggers and getting you a jump start.
🛒 Reedem the Hosting Discount by clicking on the link you will get 20% discount.
Bonus Tip: Join My WhatsApp Channel for Blog Growth Updates
Want direct access to real-time blogging tips, SEO tools, content ideas, and personal updates I don’t post anywhere else?
📲 Join my WhatsApp Channel where I share quick value-packed updates, new articles, discount alerts, and behind-the-scenes of building MarknestHub.
✅ Click here to join my WhatsApp Channel
Whether you’re stuck on a step or looking for motivation — I drop value bombs in short, focused messages.
It’s like having me in your pocket while you build your blog!
Step 3: Setting Up WordPress – What They Don’t Tell You
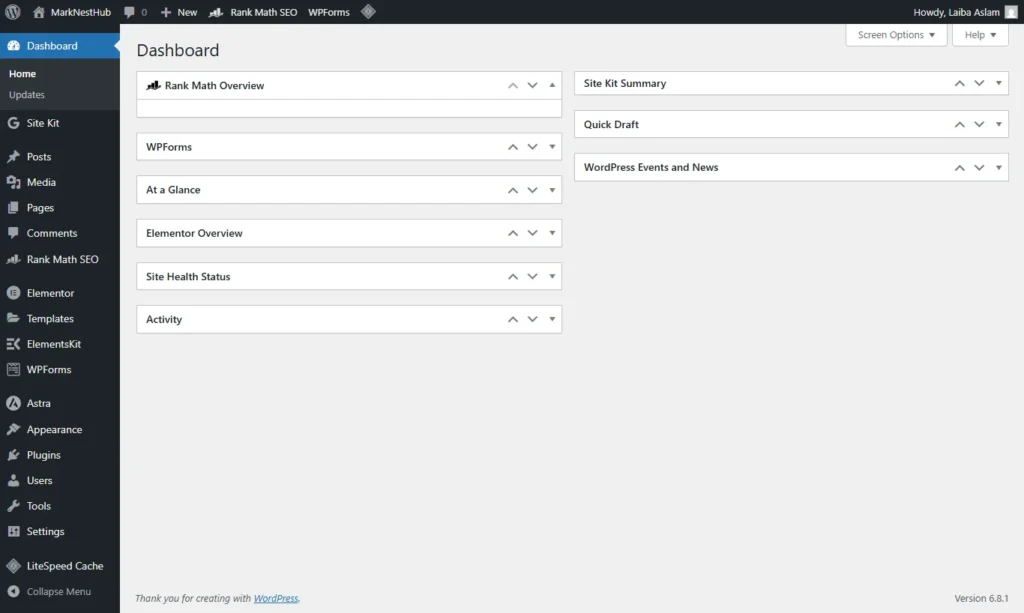
Installing WordPress was easy via Hostinger’s auto-installer.
But that’s where things got complicated. I struggled with themes, editing the homepage, and using Elementor. I often asked:
“Why does this theme look nothing like the demo?”
“Why won’t the homepage update properly?”
After days of tweaking, here’s what worked:
Theme: I chose a lightweight, SEO-friendly theme
Builder: Elementor Free (later used JSON layouts for customization)
Homepage: Designed with sections, hero image, testimonials, blog grid
Personal Win: The moment I added my own logo and saw the site take shape — that’s when it started feeling real.
Step 4: The Pages That Matter More Than You Think
I thought blogging meant just writing articles. But you taught me this, too:
Pages like About, Services, and Contact are just as important.
Here’s how I structured mine:
Homepage – Communicates value, services, and latest blogs.
Service Page – Started with guest posting, then added Account Authorship Access.
About Page – Shared my mission, story, and site credibility.
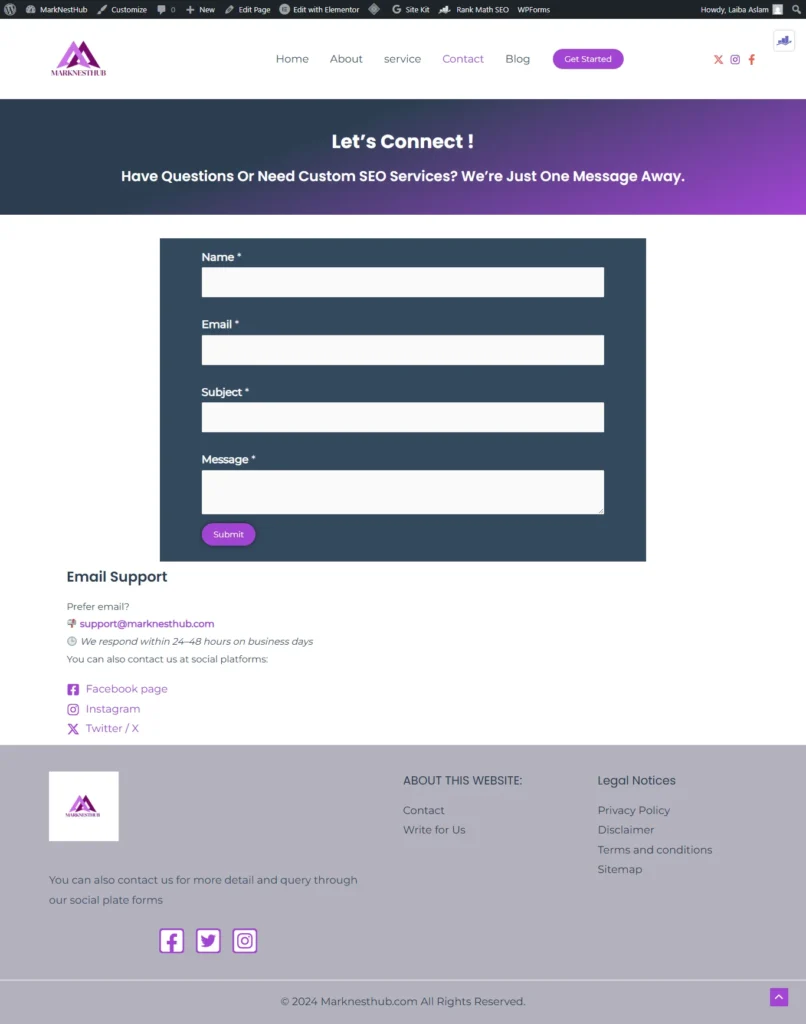
Contact Page – With WPForms and a clickable email.
I used Free Canva to design testimonials and branding elements — including the logo.
Fun Fact: I even designed my sitemap manually using Elementor and asked how to remove it from Google Console later!
Step 5: SEO, Content Writing, and the AdSense Battle
Once the setup was done, I jumped into content — and this is where I became obsessed with SEO.
I applied every piece of knowledge to my content strategy:
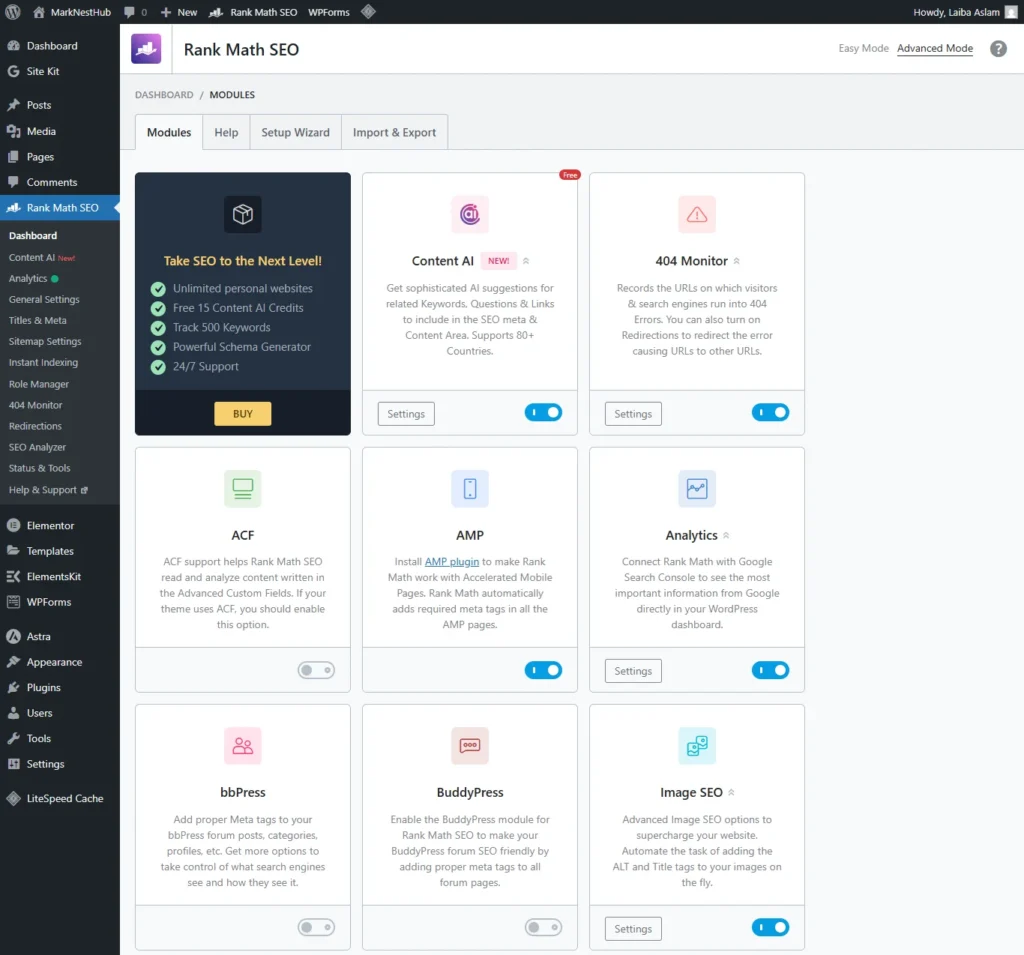
My SEO Strategy:
Used Rank Math SEO for every post
Maintained 1–1.5% keyword density
Followed the Google Helpful Content Update 2025
Ensured E-E-A-T was reflected: I shared experience, solutions, and proof
Created a cluster around SEO: Keyword Research, Mobile SEO, Voice SEO, etc.
Checked every post’s text-to-HTML ratio — fixed thin content pages
Added author bios, breadcrumbs, and internal linking
My First AdSense Rejection:
Despite everything, AdSense rejected me. Why?
I found out I had low-value or underwritten pages, and unused sitemap clutter.
Solution?
Rewrote all weak articles
Optimized text-to-HTML
Fixed broken 404 links from the audit (remember the
/ai-content-humanizer-freeURL?)Added more content to category archive pages